Showing posts with label DIY. Show all posts

August 29, 2010

Cupcakes, Cocktails, and Creations Party Photo Recap

Well, another Cupcakes, Cocktails, and Creations party has come and gone. It's kind of weird reflecting that it's already behind me when for so long I have been looking forward to it. Overall, the party was a very fun and energetic time. Between myself, my friend Kay who sold her fabric creations, my friend Janice who sold embroidery items, my friend Sherri who offered $5 massages and paraffin hand waxing, my cupcake server Lennea and my husband and friend Darryl who served as our in-house bartenders, we delivered a larger than life party to over 60 people!  Here is a photo-recap!
Lurking deep in our basement was a party ready to happen!
There was much to do with an unfinished basement that looked like this:
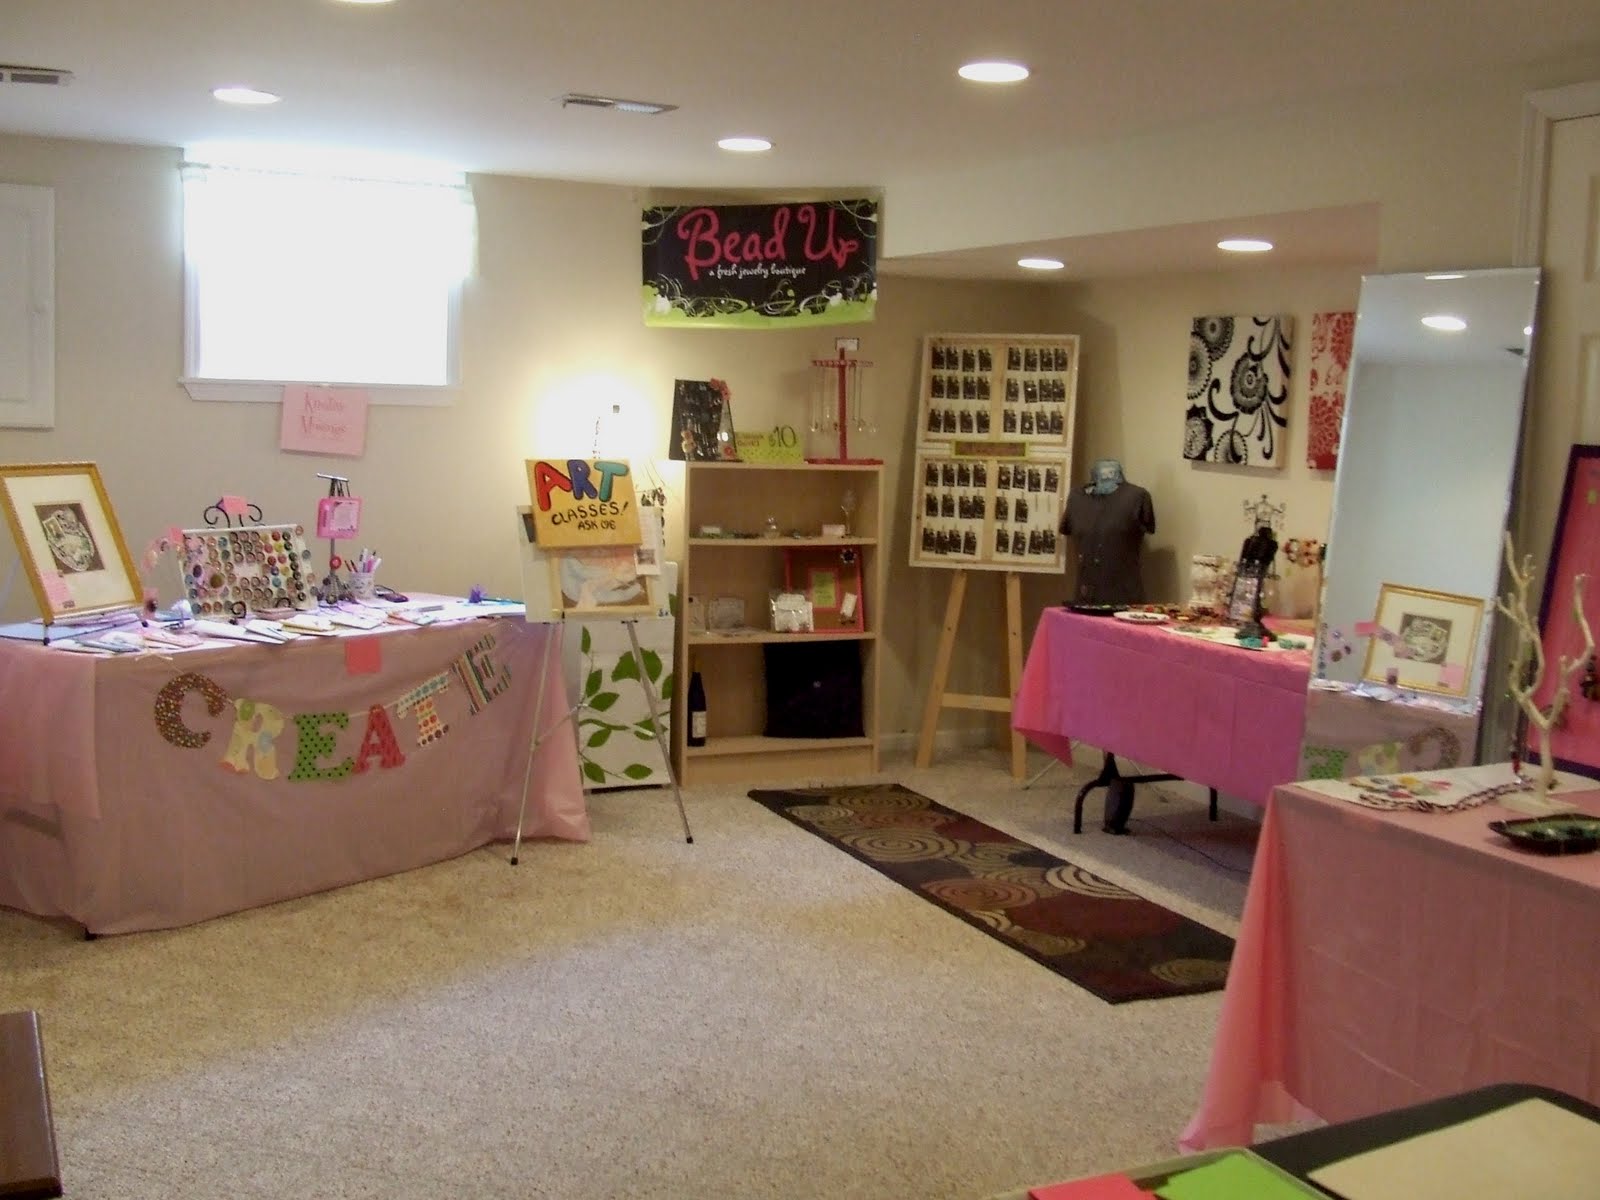
But after awhile we managed to make it look like this:
Getting everything organized was harder than it may look, as it included placing items in terms of genre or price and then adding price tags to each one. Thankfully I had a great husband who was willing to loop each annoying little tag onto each piece of jewelry, my least favorite part!

The husband and I made this pink screen display thing by hand. More on that in an upcoming blog post!
This was a re-furbished Salvation Army find. More on that in the same upcoming blog post, too :)
I sold-out of these super fun Tiffany's inspired bracelets :)
I put my mom to work while she was in town and had her paint this sign from Vistaprint - got it for free but didn't like how small the fonts they offered appeared - so decided to paint it on by hand!
This was the earring rack that I bought for less than a dollar at Salvation Army and spiced up! 
Another Salvation Army find -- more on this creation in a following post!
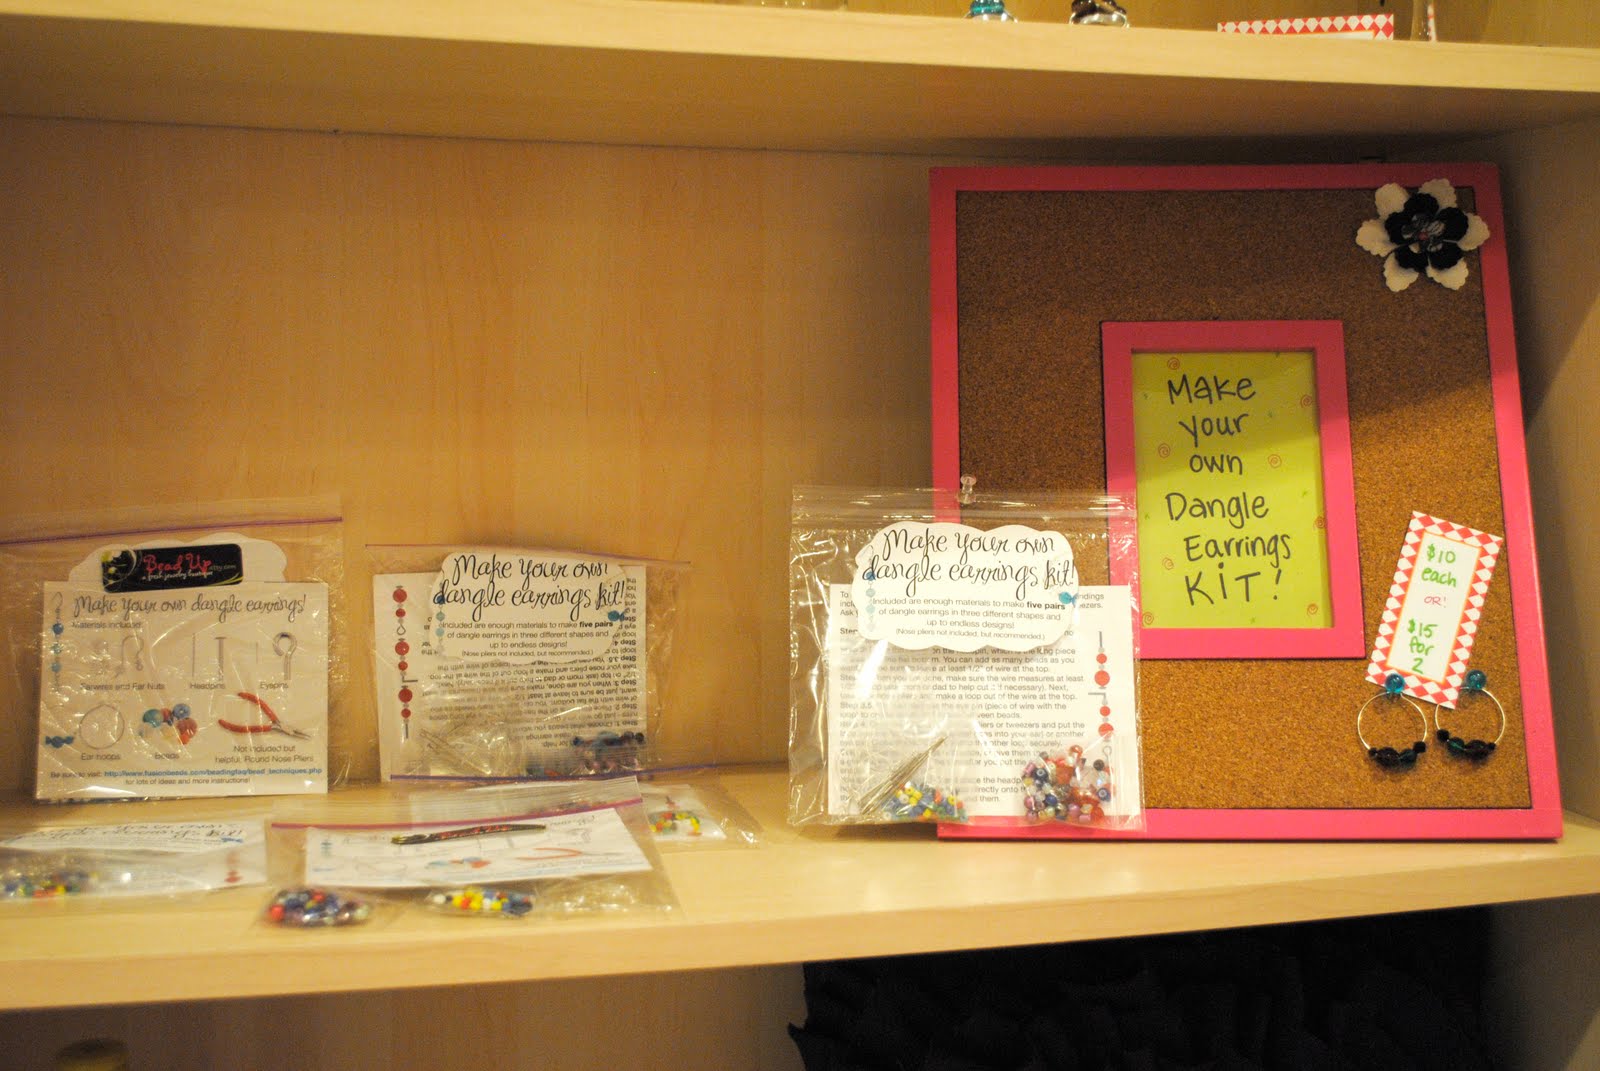
A Bead Up first - DIY earrings kits!
Bead Up Check out ;) 

And once Kay's "Kreative Musings" table was up, and Janice's embroidery table was set (which I didn't get a chance to photograph - oops!), we were ready for business!
And what is a Cupcake party without... cupcakes?! Right before the party started, I iced the Oreo cupcakes with whipped topping, white icing, and crushed Oreo's!
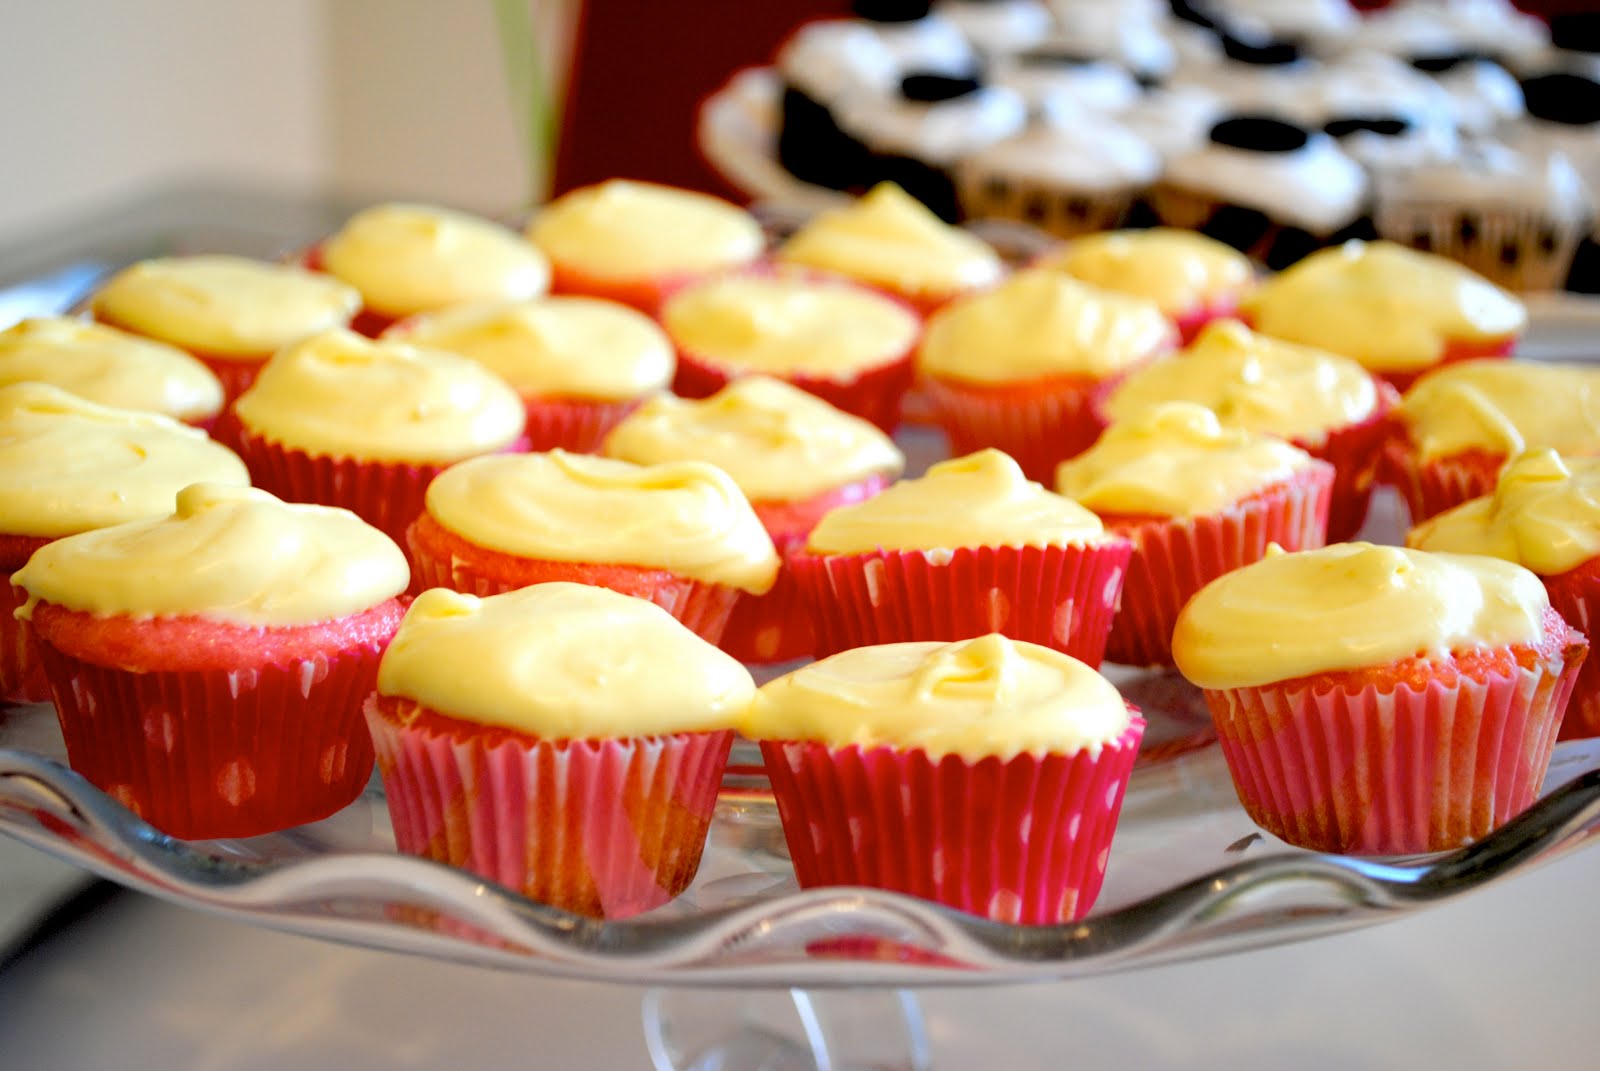
And did the same for the Raspberry Lemonade Cupcakes -- whipped topping, white frosting, lemon peels, lemon flavoring and yellow food coloring!
And Kay brought Red Velvet cupcakes:
And Lemon Drop cupcakes!
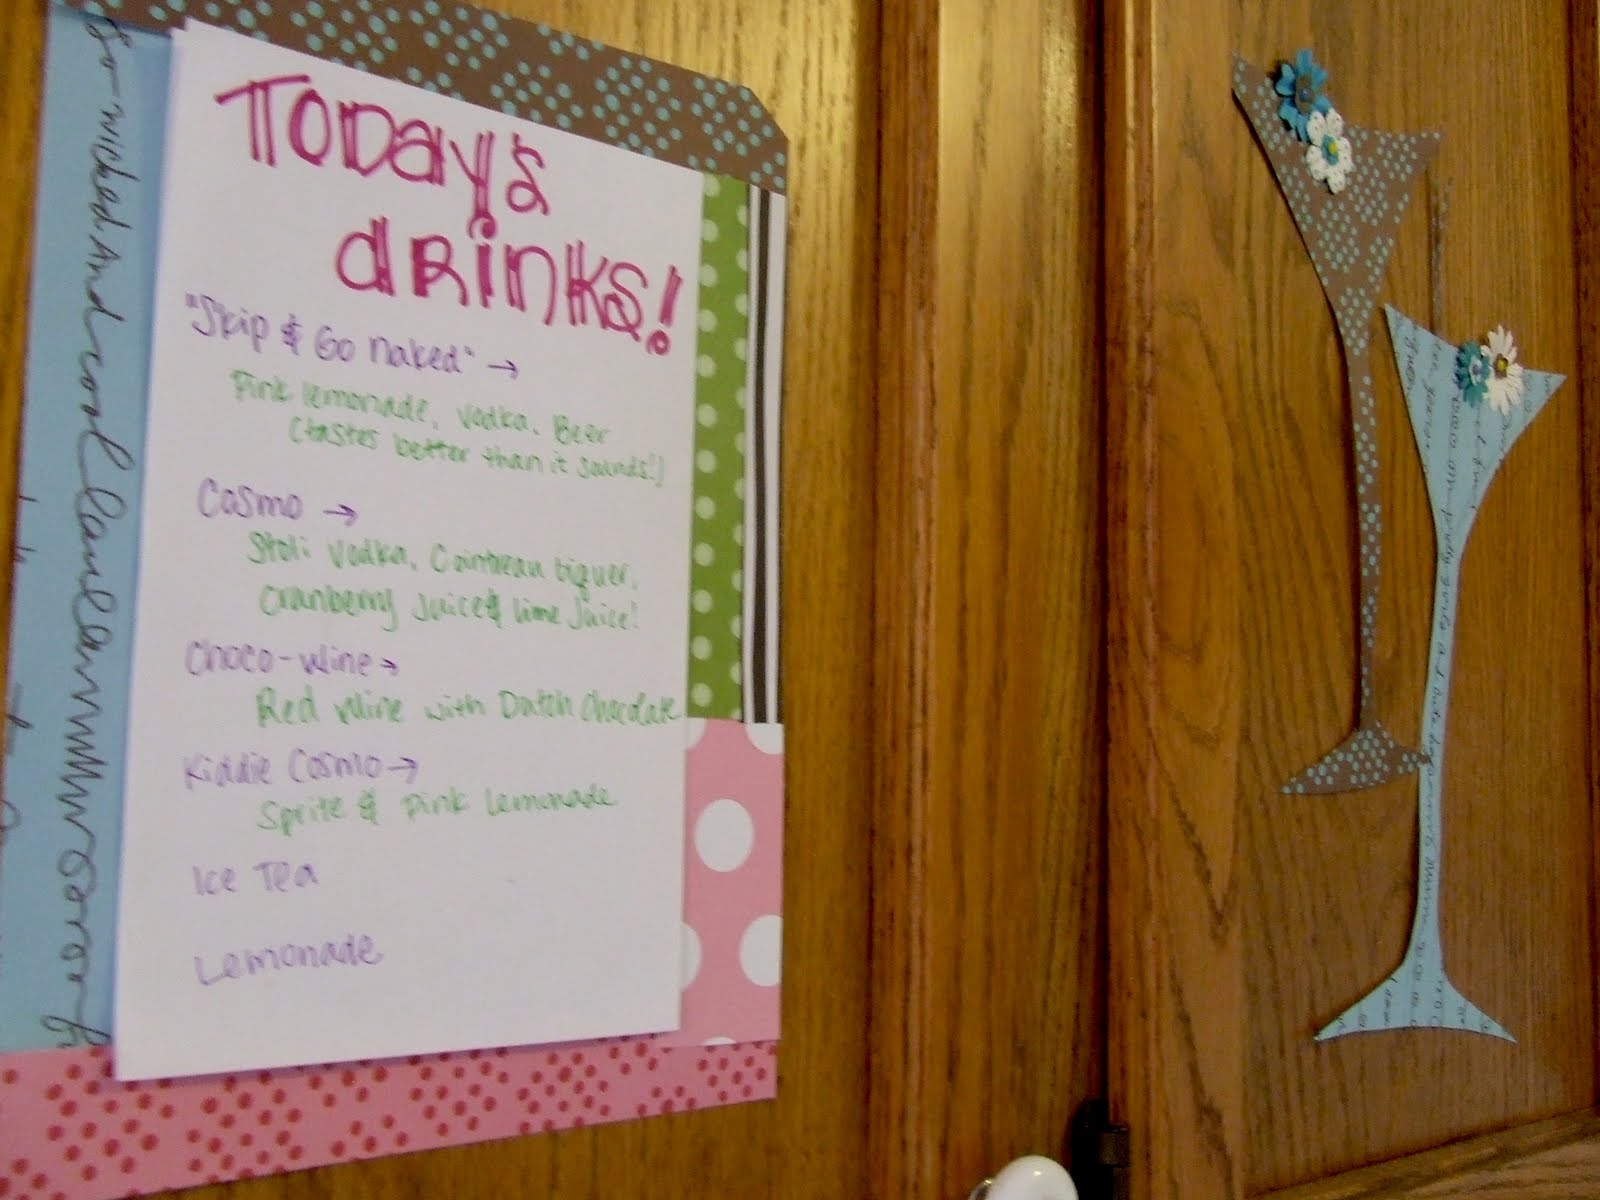
And of course there were drinks, too!
...And massages!...
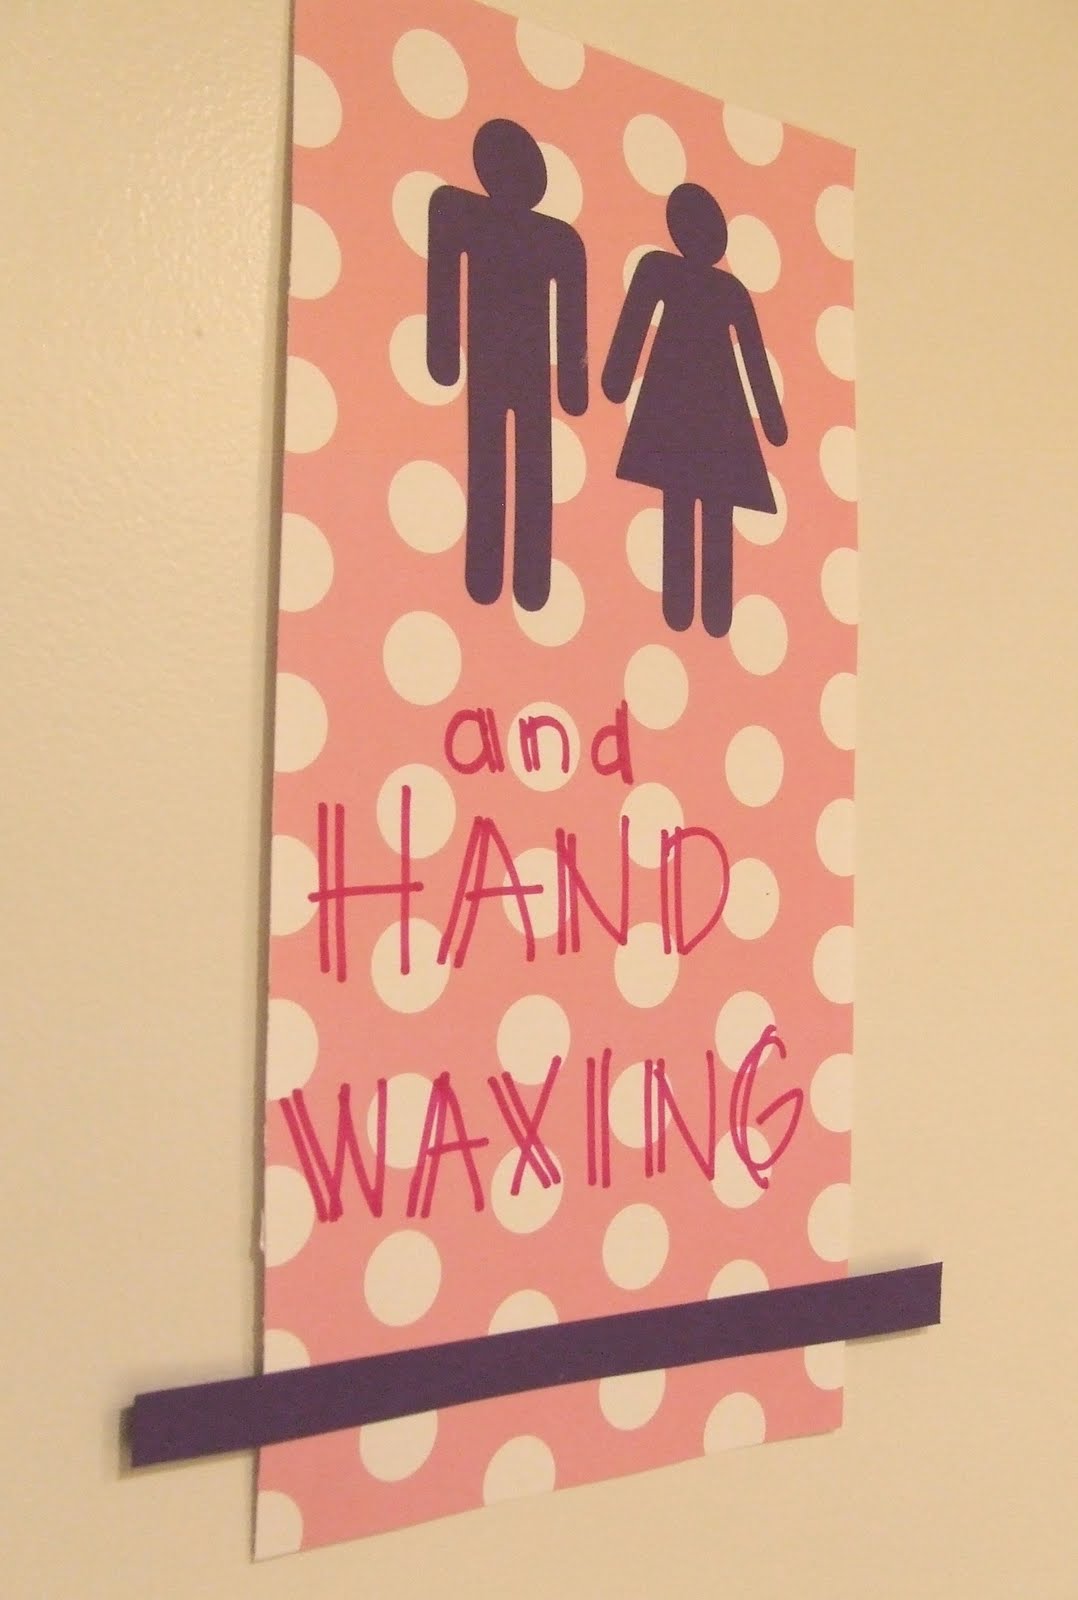
...And hand-waxing!...
...And my lovely bartenders - my hubs on the left and our doggie-sitting friend Darrel. 
The key to a successful party is in the details:
Haha - I couldn't' resist using this hilarious ribbon! Too random!

Though I start my new job tomorrow, I am going to do my best to list as many products as I can to Etsy within the next week or so. And am scheduled to show in a church fair and also a charity event next month - game on! Wouldn't want it any other way! Thanks again for everyone for another successful party!

August 18, 2010

DIY::Salvaged Finds Turned To Jewelry Displays::PART 1

I have always been a Goodwill Stores kind of a gal. Even when I find something there that I don't need but see the $.49 price tag attached, I always seem to be able to justify the purchase. This was no exception when trying to think up new and useful ways to display my jewelry for my upcoming party.


I have spent some of my recent free time getting to know my new neighborhood, which includes the local stores and dives. While rummaging around a Salvation Army store in town, I shopped this little guy: 


I immediately knew what I could do with it, and $.98 later it was mine! So after adding some black paper to it's back to give it less of a meshy look, I looked around my craft room to get some ideas of how to spruce the thing up. I knew just the remedy: paper flowers and brads! 
So a few floral arrangements later... 
And after adding some earrings, too...
We have this:
So, for less than $1 or so, I have a perfectly lovely earring holder. The paper holder also came with a magnet, which I think I will use to label the price for the earrings during the jewelry party. What do you think? 

Next on my list was to find a means to hang some longer necklaces I recently made for the jewelry party.  I remembered that I had some old cork boards we were saving to put up next to our dart board in the basement. Who needs darts when you have lots of jewelry to display? So I pulled them, and some old gift wrap, out of storage...
Turns out the cork boards (which we originally found in a free pile of stuff back in Berkeley) have warped pretty harshly over time, so they needed to be covered STAT!... 
After cutting the paper and taping it's edges down...
I added some torn paper around the border to give it some color, as well as a random flower I found laying the craft room. And VOILA! 
In fact, I used the rest of the torn pink paper to create it's counterpart:
I especially love the floral details: 
Though am not a huge fan of the only interesting push pins I could find in town - where can I get some cute silver matte pins without spending a fortune? 

Up next - how I turned a $.48 find into a necklace and earrings holder, plus a new use for an old lamp!