Showing posts with label sewing. Show all posts

July 19, 2010

When Fabric gets in the mix...

Lately I have been a bit obsessed with textiles. First I have been a little more vicious in incorporating fabric in my jewelry, as seen in this week's new products:
Golden Bohemian Wooden and Fabric necklace, $17

White crystal with blue ribbon and silver broach necklace, $19

Green Gemstone, Wooden Beads, and Purple Ribbon necklace, $23

Party in Pink Faux Pearl and Pink Ribbon necklace, $12

Disco brown ball and lime green necklace, $17

Wooden Beads and Purple Ribbon necklace, $20

And my favorite, this little tulle necklace inspired by some random socialite I saw online
(more on that later this month):
Gold netting and purple pearls necklace, $19

In fact, you can count on more fabric jewelry coming your way - I just signed up for a FABRIC BEAD-MAKING class at the Art Institute here in town and can't wait! (In fact, can I just start my life over and be a professional art student - man all the classes that are offered are SO tempting!). 
Meanwhile, I have been working with the fabric I bought in the garment district in LA, starting with some much-needed curtains for my craft room. I didn't really go into the project with a plan, but one day I was rummaging through my random fabric collection and was reminded of a very random piece of long remnant fabric I bought at a $1/pound store:
Amy Butler "Woodfern Kakhi," though I found it for a ridiculously cheap $.75, you can also find it here on Etsy :)
The fabric was basically being asked to be transformed into curtains - it was literally 5" long and about a 2" wide! I simply folded the fabric long ways, cut it in half, and skipped the sewing machine all together and just pinned the top over on itself to make a little loop for the curtain rod. Voila!
But I had this little lowly piece left:
Which I of course didn't want to go to waste. I had just the solution - a wrist pincushion! Thing was, I had no clue how to make such a thing. Here goes nothing...!
I knew I needed a base so as to prevent the pins from hitting my wrist when worn. The base would also function as the shape for the thing. So I started glue-sticking the fabric on the cardboard...
Then sewed it on to double reinforce it...

And then crammed some stuffing that was left over from my previous pillow project and sewed it shut...

Next was the wrist strap... I used some trim from some other Amy Butler fabric that will be used in a future pillow project (as seen here). First I turned it inside out and sewed it down the side...
Turning it back inside out was the hardest part since it was so thin, and once I figured it out, sewing the fabric together with a stretched elastic piece inside was even harder. Man, I have a WHOLE new respect for those scrunchies that were OH SO popular in the 80's! 
Next I sewed the wrist band to the stuffed topper thing...
And had me a brand new pincushion wristlet!

On that note, if you dig fabric crafts, do check out my friend Linsday's new Etsy shop and her GIVEAWAY with Etsy It Up! Let's wish her well, y'all!

July 9, 2010

Beads+Pillows=Love


The function of a bead can be limited to a small decoration on a bracelet or as vast as a MacGyver vessel of escape (come one, why not?). Locking yourself in a craft room with jewelry, scrapbook, sewing, and photography supplies can be, well, an interesting combination!


When the Hubs and I moved into our new house I was dead set on figuring one thing out first: our color schemes. While most of our house is black, white, and red (homage and continuation of our wedding celebration), I was ready to re-vamp our bedroom colors from bold magenta and gold to a more inviting and sedate color combination. While reading a magazine provided by my gal Cheryl on the drive from Los Angeles to Missouri, I spotted this:


Though pastel-type of colors usually aren't my thing, I for some reason fell in love with this pallet. We started with painting one of our bedroom walls a beautiful light purple to match the scheme (well, I actually never lifted a brush -- I threw a Paint Party and a dozen people from church did all the work before I even got a chance to leave the kitchen!). Next was the accents... I knew that I wanted to make a headboard out of a lime/mint greenish fabric (more on that once it's actually done), and that I wanted to also coordinate with some beige colored Chinese lampshades and a dark purple of sorts. I shopped all around for some kind of dark purple/floral/bold accent pillow with no luck. So what's a girl to do? Make one herself, of course!


When shopping in the jewelry/garment district when we were back in LA for the Hub's ordination, I looked everywhere for some kind of tweed/thick deep purple fabric. When I couldn't find any, the $2.50/yard plain cotton won simply due to it's color. And that fact that I have next-to-zero sewing skills and I figured such fabric would be gentle on this beginner!
In my mind, I had envisioned a 3-D floral pillow, with a swirl of ruffles revolving across the whole front of a 16x16" or so throw pillow. Other than that, I had NO set measurements/instructions/etc. Just me, my scissors, and my sewing machine! Needless to say, I used less than sophisticated tools:
I knew I wanted to add ruffled-petals of sorts in a circular pattern to the pillow, but I didn't really have much of a game-plan other than just playing with the fabric and going from there! I first used the "schrunchie" method of loosely sewing thread into one side of panels of fabric then pulling the thread to bunch the fabric together...
Then, and most time-consuming, came pinning on the ruffled fabric to the pillow case front panel, using the bowl-drawn circles as a guide: 
Then I sewed on layer-upon-layer of the stuff...
Until the ruffles were done... but with to do with the middle? 
I searched all over my house for a flower broach I had purchased a few years back for the wedding to no avail. Then it hit me - and it should have hit me sooner - BEADS!
After sewing seven light purple crystal beads in the center, we had our pillow front. Now was the most interesting part - watching me try to measure and figure out how to most strategically sew on the back panel while also leaving room (an exact amount of room, actually) for the pillow stuffer (16x16") I bought for the inside. I am sure there is science to this, but my organic method left me literally staring at my deconstructed pillow for a solid 30 minutes before I just went for it... after sewing 3 sides of the pillow on the machine, turning it right side out, stuffing the stuffer inside, then hand sewing the bottom side (all while watching The Office on my computer), I got this:
Totally not what I had originally envisioned, and in all honesty it is a bit frillier than I prefer... but dag-namit, I made it with no instructions, no forms, and literally no experience on a sewing machine! I love it! AND - it looks great with the colors I already have going on in the bedroom!
When I showed it my Hubs, he said "Oh cool! You made a pillow that looks like the top of a cupcake!" Wow - didn't see that one coming. If we are going with cupcake analogies, I think it looks more like the paper wrapping once it is off of a cupcake. Whatever you want to call it - cupcake, flower, beaded pillow - I dig how it seems to POP in our newly painted bedroom! (Oh, and that fabric hanging on the wall is the fabric I hope to use for a headboard... eventually!). 

I figured that while I was at it, I might as well keep on sewing - I was on a roll (even though this purple pillow took me the better half of a whole non-stop day)! When I was at Michael Levine's in Los Angeles searching for this purple fabric, I also spotted this:
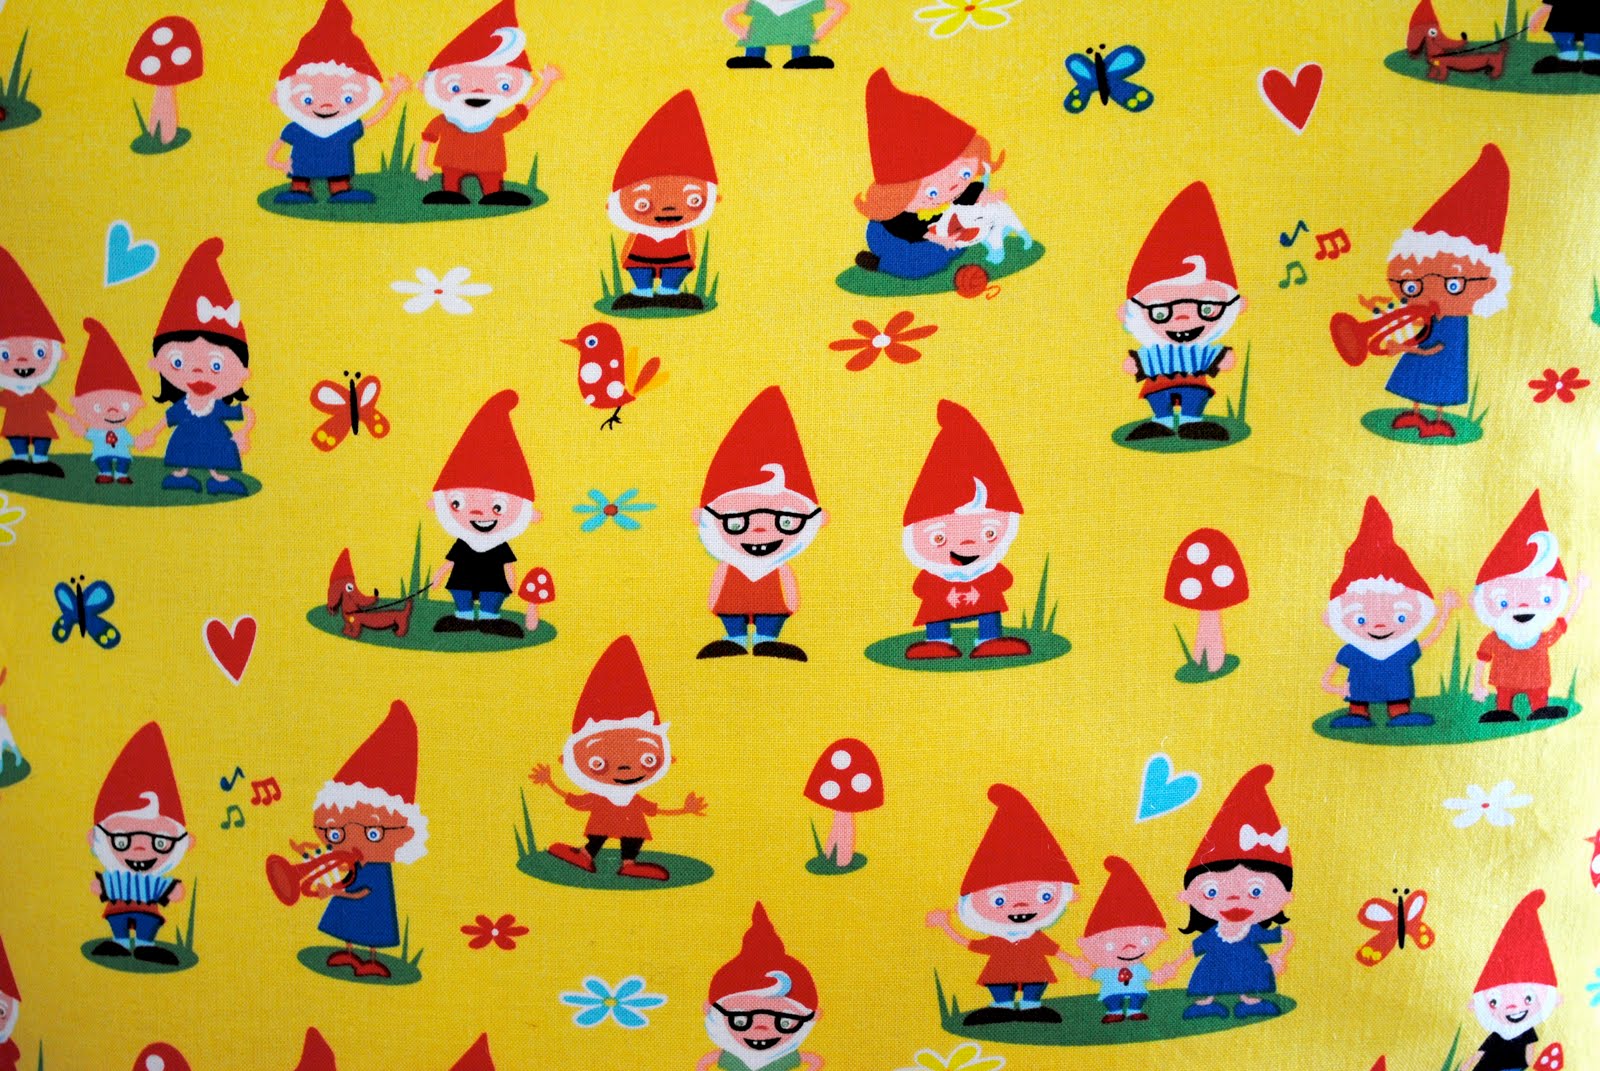
Now, I am not typically a fantasy/comic/children's art kind of a connoisseur, but I have some dear friends to whom I owed a huge thank you gift and with whom we have a running gnome joke... so this fabric was just begging to be purchased! With a few cuts, snips, and another intimate getting-to-know-you session with my sewing machine, I came up with this:
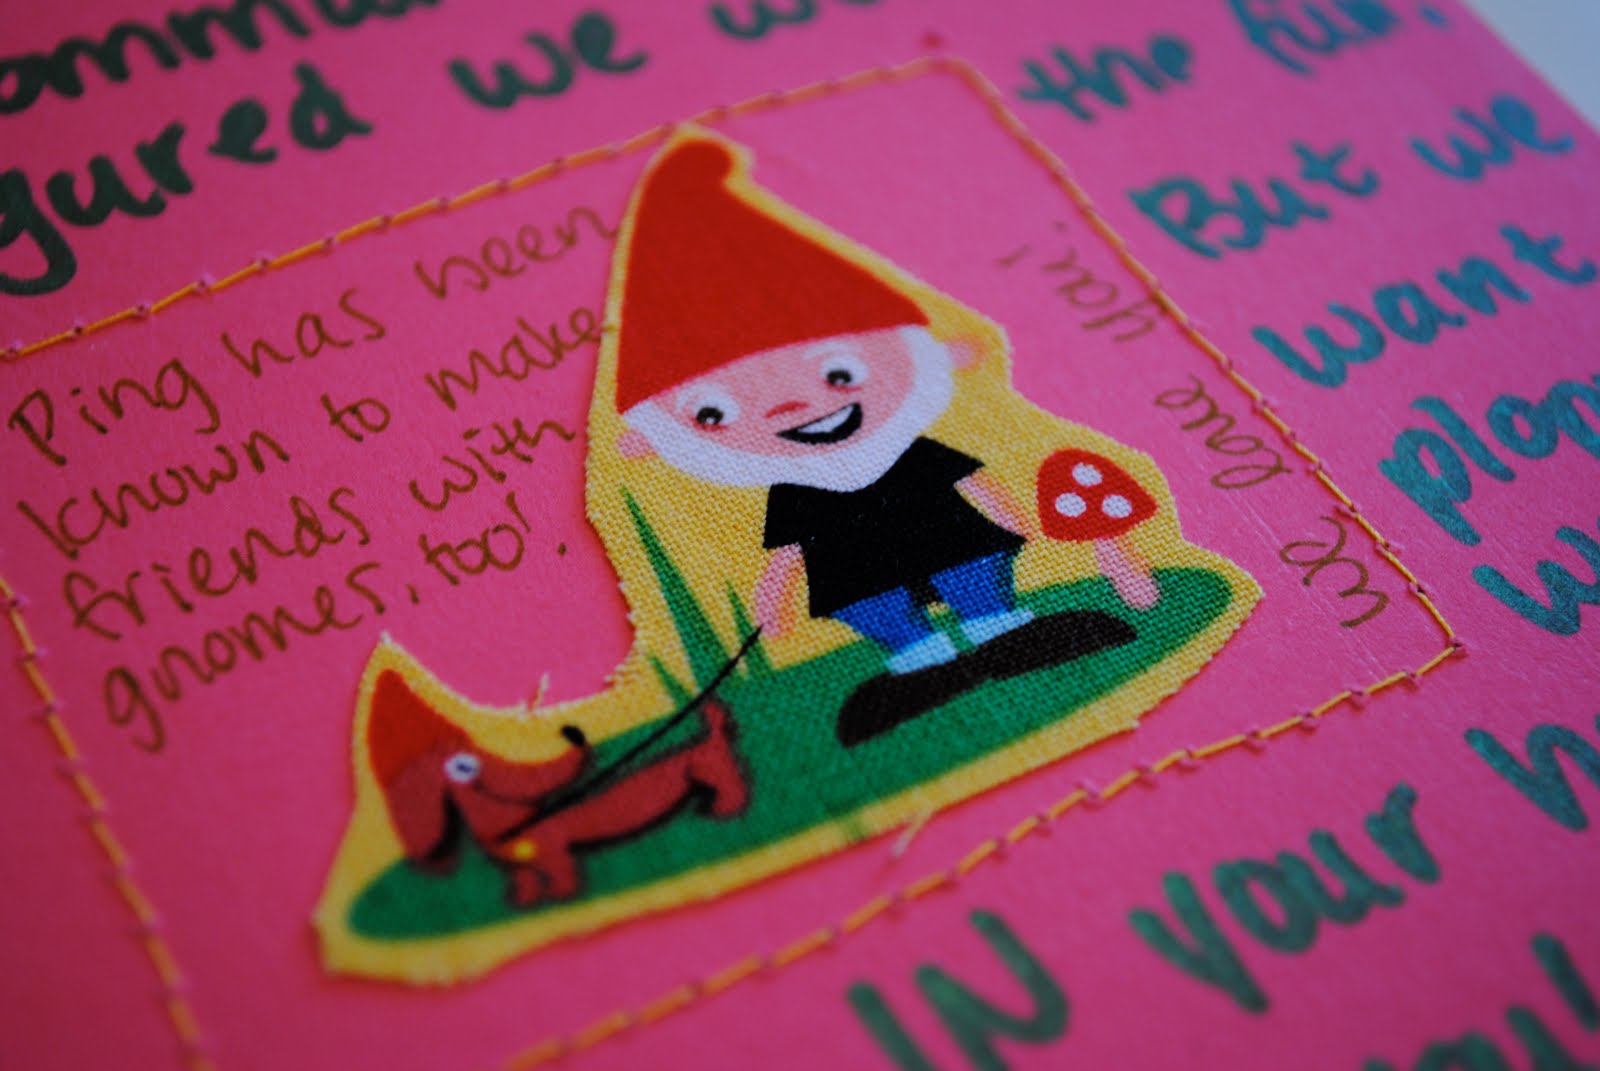
And even used the left-over fabric to make a coordinating card!

Whew! So I guess this is what happens when you have sewing, scrapbooking, beading, and photography supplies all in the same craft room! But I better get back to it -- I have to make jewelry for three weddings, enough jewelry for my annual fall show, and a whole house to decorate before the summer is over! More next week!

July 6, 2009

Non-Jewelry Craftiness

Ok, so I know that this is a jewelry blog and all, but I just had to share with you what I was up to craft-wise this weekend! Last week I said that I would rather spend the 4th of July cleaning my craft room than doing anything "patriotic." Well - rather than cleaning, I got to craft all weekend long! First I got a call from a friend in Kentucky saying that she saw a necklace on my Etsy site that she said perfectly matched an outfit she was planning to wear for a wedding this weekend... BUT - she needed a matching bracelet and earrings. No problem, let me whip one up in time to mail it out by Friday morning! I think the end product looked pretty good, considering the short time I had to create the trio. The best part, between you and me, is that all the beads I used for these pieces were given to me by a friend who bought them in hopes of really enjoying jewelry making, only later to discover she was really a quilter instead. Hooray for free supplies! Next on my list was to re-wire some necklaces for my mom (who is STILL in town, which means I still don't have access to my craft room! More on that later this week!). After that, I was pretty pooped with jewelry making for the weekend (though I still need to finish those necklaces for the wedding in Minnesota I am attending this weekend). The Hubs reminded me that I promised to bring the mid-west game of Cornhole with us to a 4th of July cookout. He had already handmade the cornhole board (if you are reading this thinking that cornhole is a food, I don't think you are alone. Read up on this mid-western/Southern/Great Lakes regional pass time game o'fun here), now all I had to do was to make the beanbags. "Sure, honey, I'll just sew them together really quickly." While this might sound like a "no biggie," let us not forget that, though I have had a sewing machine for over a year now (thanks to my friend Erin), I have only used it to make the Hub's and my Halloween costumes (Tinkerbell and Peter Pan - only I was the later!). And those were pretty rough. But, I saw this as a good chance to get to know my sewing machine a little better and also use some of the fabric I have recently accumulated in hopes of claiming my inner Project Runway (RIP until next month, dear friend!). So, with 4 bags of pinto beans and a lonely sewing machine ready on my craft table, I got to work.
I first had to decided which fabric to use, especially since I needed two differing shades/designs/prints, etc for each team. After going through my huge storage bin of fabric, I found this awesome upholstery piece I got from the As-Is section at IKEA. I think it's some sort of ottoman cover, but for $5, there seemed to be enough fabric to salvage.Next I found 4 sections that were large enough to cut from them 2 6"x6" pieces of fabric. I used a totally scientific method - a school ruler and a jelly pen. I also did the same with some upholstery fabric I got for $5 in the same As-Is bin at IKEA (the rest of it is acting as a valance in my living room). Next, I approached the project as I would a pillowcase (though I have never actually made a pillowcase...) and began sewing from the inside out.
I only sewed 80% of the exterior so as to leave room to turn the bag inside out and add the beans. First we turned the bags inside out and then the Hubs filled them up with 1/2 a 4 pound bag of Pinto Beans (courtesy of a coned-up piece of paper). Next I hand-sewed the rest of these bad boys one-by-one. And by the end of it, understood the worth of investing in a thimble (upholstery fabric, people!).But the end result was worth it. Hello, designer bean bags!The Hubs pointed out that the contrast in our projects - he was proud of his rustic, simple, utilitarian cornhole board, while I was proud of my designer-like bean bags! That's why we make a great team! I am totally not going to let that board stay plain wood - as soon as I get a chance, I am painting it in my beloved Marimekko print! It's going to look SO GREAT with those black and white beanbags!
No sooner was I done with my beanbags did the Hubs remind me that I promised to make cupcakes for the party. No creative rest for a gal who has lots of jewelry to make! I figured if I had to make cupcakes for my ::ahem:: favorite holiday, I would at least make them in my preferred 4th of July color scheme (hint: red, white, dark and light blue).
(I added 2 packets of Crystal Light instant flavoring to the Funfetti mix to add some color and flavor, in addition to using XXL cupcake tins. The whole box only yielded 12 cupcakes! My kind of dessert!) Whew! Now, on to a jewelry making frenzy of a week!