July 9, 2010

Beads+Pillows=Love


The function of a bead can be limited to a small decoration on a bracelet or as vast as a MacGyver vessel of escape (come one, why not?). Locking yourself in a craft room with jewelry, scrapbook, sewing, and photography supplies can be, well, an interesting combination!


When the Hubs and I moved into our new house I was dead set on figuring one thing out first: our color schemes. While most of our house is black, white, and red (homage and continuation of our wedding celebration), I was ready to re-vamp our bedroom colors from bold magenta and gold to a more inviting and sedate color combination. While reading a magazine provided by my gal Cheryl on the drive from Los Angeles to Missouri, I spotted this:


Though pastel-type of colors usually aren't my thing, I for some reason fell in love with this pallet. We started with painting one of our bedroom walls a beautiful light purple to match the scheme (well, I actually never lifted a brush -- I threw a Paint Party and a dozen people from church did all the work before I even got a chance to leave the kitchen!). Next was the accents... I knew that I wanted to make a headboard out of a lime/mint greenish fabric (more on that once it's actually done), and that I wanted to also coordinate with some beige colored Chinese lampshades and a dark purple of sorts. I shopped all around for some kind of dark purple/floral/bold accent pillow with no luck. So what's a girl to do? Make one herself, of course!


When shopping in the jewelry/garment district when we were back in LA for the Hub's ordination, I looked everywhere for some kind of tweed/thick deep purple fabric. When I couldn't find any, the $2.50/yard plain cotton won simply due to it's color. And that fact that I have next-to-zero sewing skills and I figured such fabric would be gentle on this beginner!
In my mind, I had envisioned a 3-D floral pillow, with a swirl of ruffles revolving across the whole front of a 16x16" or so throw pillow. Other than that, I had NO set measurements/instructions/etc. Just me, my scissors, and my sewing machine! Needless to say, I used less than sophisticated tools:
I knew I wanted to add ruffled-petals of sorts in a circular pattern to the pillow, but I didn't really have much of a game-plan other than just playing with the fabric and going from there! I first used the "schrunchie" method of loosely sewing thread into one side of panels of fabric then pulling the thread to bunch the fabric together...
Then, and most time-consuming, came pinning on the ruffled fabric to the pillow case front panel, using the bowl-drawn circles as a guide: 
Then I sewed on layer-upon-layer of the stuff...
Until the ruffles were done... but with to do with the middle? 
I searched all over my house for a flower broach I had purchased a few years back for the wedding to no avail. Then it hit me - and it should have hit me sooner - BEADS!
After sewing seven light purple crystal beads in the center, we had our pillow front. Now was the most interesting part - watching me try to measure and figure out how to most strategically sew on the back panel while also leaving room (an exact amount of room, actually) for the pillow stuffer (16x16") I bought for the inside. I am sure there is science to this, but my organic method left me literally staring at my deconstructed pillow for a solid 30 minutes before I just went for it... after sewing 3 sides of the pillow on the machine, turning it right side out, stuffing the stuffer inside, then hand sewing the bottom side (all while watching The Office on my computer), I got this:
Totally not what I had originally envisioned, and in all honesty it is a bit frillier than I prefer... but dag-namit, I made it with no instructions, no forms, and literally no experience on a sewing machine! I love it! AND - it looks great with the colors I already have going on in the bedroom!
When I showed it my Hubs, he said "Oh cool! You made a pillow that looks like the top of a cupcake!" Wow - didn't see that one coming. If we are going with cupcake analogies, I think it looks more like the paper wrapping once it is off of a cupcake. Whatever you want to call it - cupcake, flower, beaded pillow - I dig how it seems to POP in our newly painted bedroom! (Oh, and that fabric hanging on the wall is the fabric I hope to use for a headboard... eventually!). 

I figured that while I was at it, I might as well keep on sewing - I was on a roll (even though this purple pillow took me the better half of a whole non-stop day)! When I was at Michael Levine's in Los Angeles searching for this purple fabric, I also spotted this:
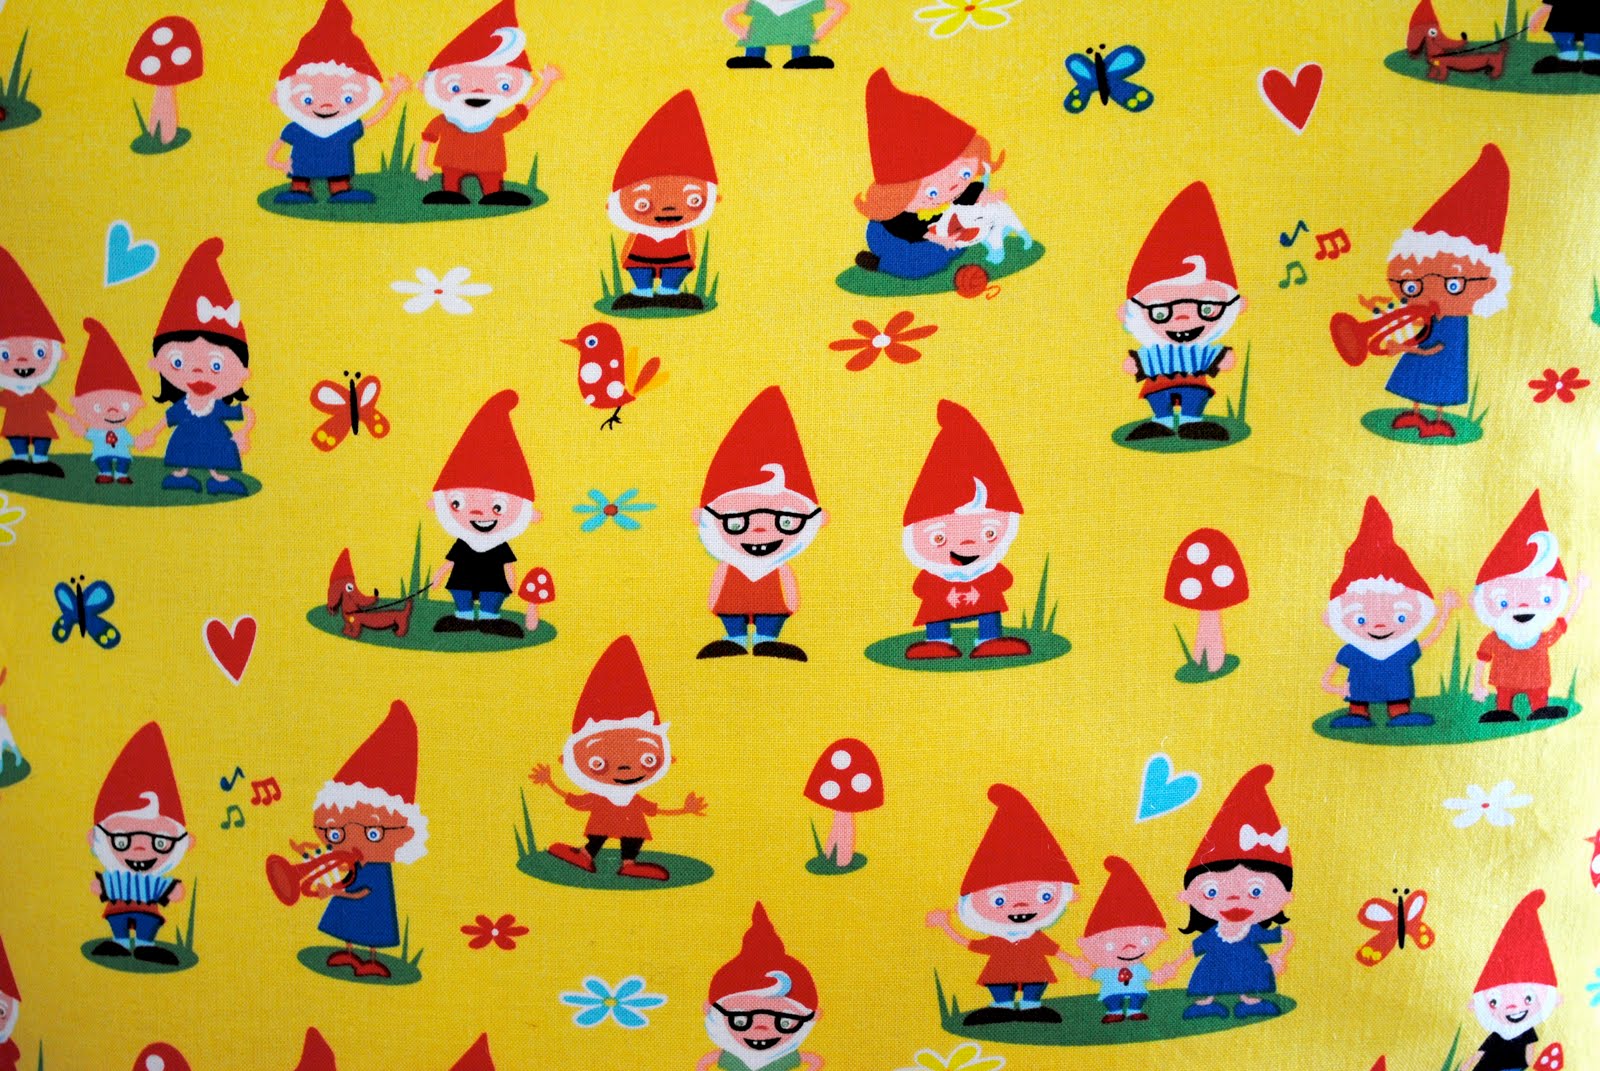
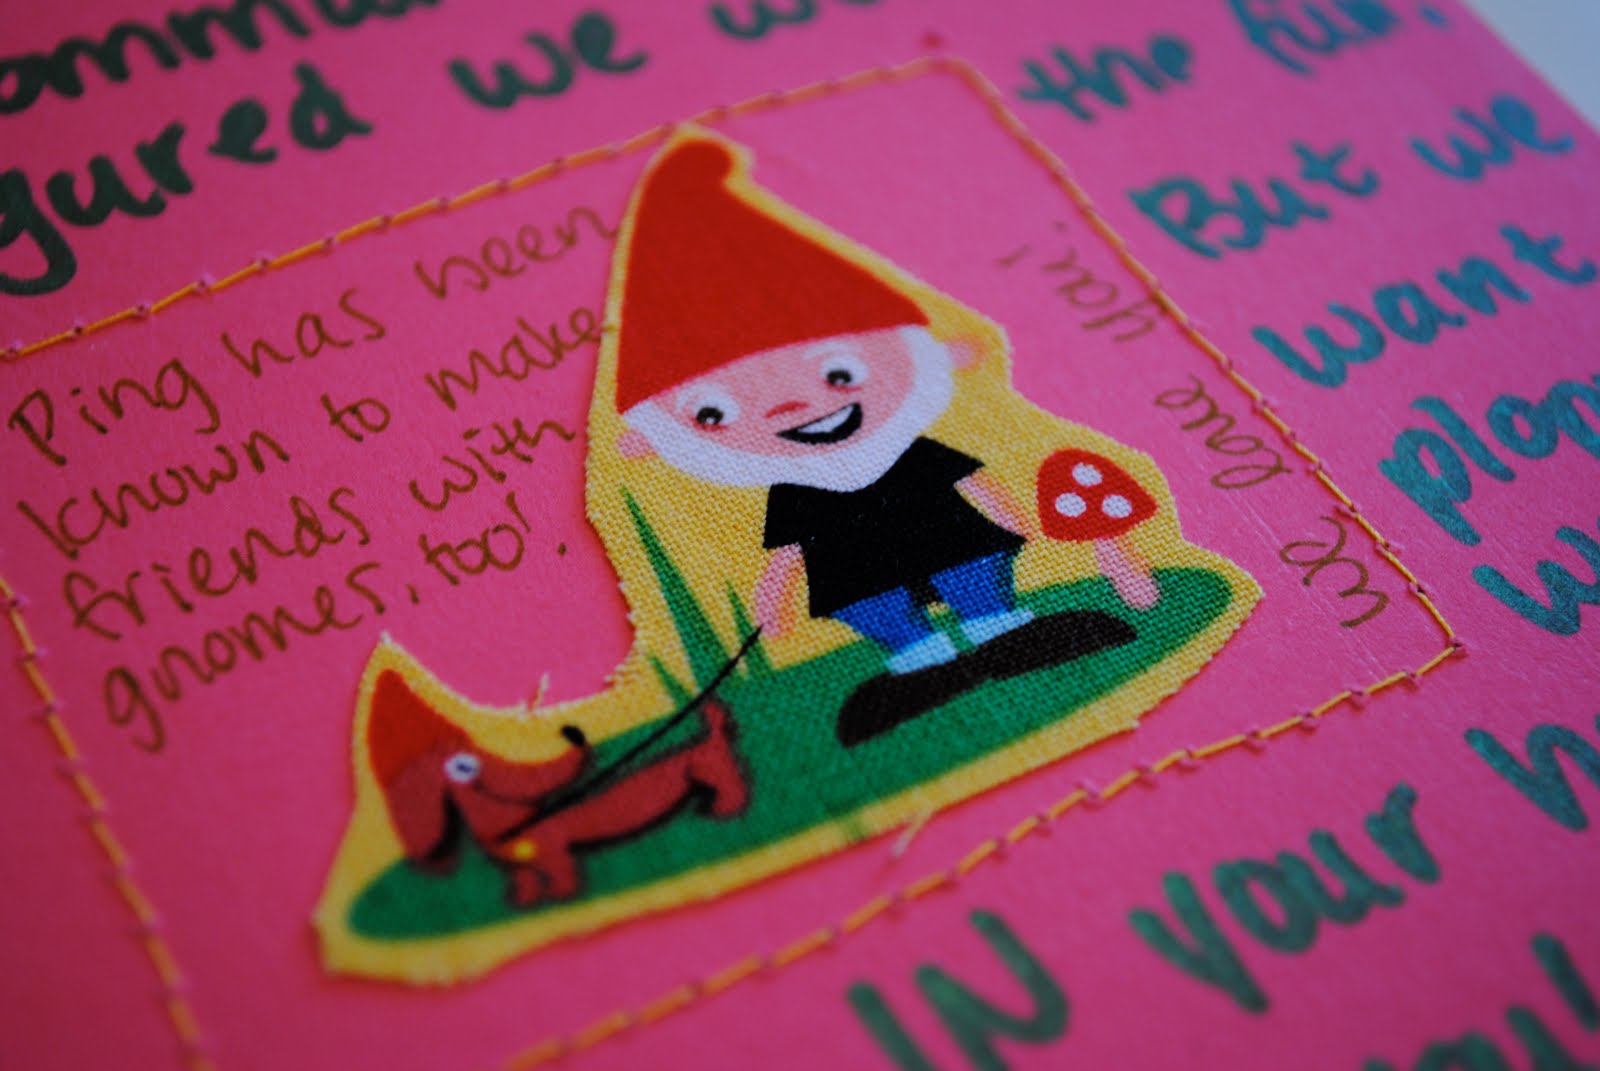
Now, I am not typically a fantasy/comic/children's art kind of a connoisseur, but I have some dear friends to whom I owed a huge thank you gift and with whom we have a running gnome joke... so this fabric was just begging to be purchased! With a few cuts, snips, and another intimate getting-to-know-you session with my sewing machine, I came up with this:
And even used the left-over fabric to make a coordinating card!

Whew! So I guess this is what happens when you have sewing, scrapbooking, beading, and photography supplies all in the same craft room! But I better get back to it -- I have to make jewelry for three weddings, enough jewelry for my annual fall show, and a whole house to decorate before the summer is over! More next week!

July 2, 2010

Stocking up at the LA Jewelry District!

Knowing it would be one of my last times in LA for awhile, I made SEVERAL trips to the jewelry district to stock up for my Fall Line and whatever is to follow thereafter! I went a month before we moved and stocked up... but then went back a few weeks later and stocked up again... and after making the 200 necklaces sale, I went back when I was in town one last time and fully stocked up - again! That makes 3 full stock up trips - which resulted in these:
::ah!::
::pearls!::
::and gemstones!::
::and turquoise!::
::and crystals!::
::and findings - oh my!::

In addition to stocking up on jewelry for my fall line, moving cross country, planning my hub's ordination, and making those 200 necklaces I mentioned last week, I made sure I didn't forget one of the most important tasks on my list -- an outfit (and coordination jewelry!) for myself to wear to the ordination event! I found a chic pink dress with a high collar early long before the event and the move (on sale at Macy's!), and topped it off with my hub's black tie as a sash and some CUTE Steve Madden shoes! I knew I needed to make a fun and bold necklace to coordinate. During one of my many re-stocking trips downtown, I spotted some pearls and immediately knew what to do... here is the final outfit! (Sorry that picture to the right is ghetto-tastic, it's the only one I have of the whole outfit)!

Sue's necklace looks like mine - because I custom made it for her last year!

And on a final note, I finally got a job here in KC! I will be serving as a chaplain at a large Trauma Level 1 hospital downtown - and the best part is that it doesn't start until September! Which means I have between now and then to totally tackle all these supplies I have accumulated and make a killer Fall Line! Yeehaw! Here are a few previews of the line, in a semi-4th of July fashion!
Yee-haw Cowgirl It Up necklace on Etsy

The Chuck: All-Star necklace on Etsy

Happy 4th of July!

June 24, 2010

200 custom made-to-order necklaces in 5 days!

It goes without saying that, by the looks of my blog, I have been quite MIA. Ask my craft room and new home in Kansas city if I have been MIA and they would give you a quite different answer! A few days before my husband and I packed up the car to move from Los Angeles to Kansas City, I got an e-mail from someone on Etsy asking if I could create 30 copies of my "Hope" necklace for a graduation her institution was hosting. Wow - 30! That was perhaps my largest order to date! Though I knew I wouldn't be able to make 30 of the exact same necklace, I searched around a found some comparable components and offered a wholesale price to the buyer. 30 soon turned into 50, and not only that, but the buyer wanted to substitute the pink bead for a purple trumpet bead. After adding trumpet beads to my to-buy list for the project, the buyer asked that we up the number of necklaces again to 100! WOWZA! I frantically tried to find the chain and charms that I needed, and as I was on the road to my new home, the buyer asked for 200 necklaces! HOLY JUNK! Sign me up - I think?!


So in addition to trying to move into my new home and prepare for a return trip to LA for the husband's ordination, I searched far and wide for the materials I needed to make these bad boys. In the past when I have made custom jewelry I have had little problem finding the amount of components I need. That was before I was looking for 200-800 of certain pieces. When I went to order 200 of the HOPE charms from one of my favorite sites, FusionBeads, turns out they only had 14 in stock. Ooooh. Next, when I went to order the heart charms I had offered to include on the necklaces, Artbeads only had 25 in stock. Hmmm. Next when I went to Michael's to buy 50 (yes, 50) packets of chain, they of course only had 3. So what's a girl to do? Whine to her husband and have him help! While I searched frantically online for other distributors of the Hope charms, the hubs called EVERY Michael's store in 3 counties and 2 states in and around Kansas City to see who had them in stock. I then spent a whole day driving around my new city and visited 5 Michael's stores within 3 hours - whew. Thankfully I found the bulk of what I needed, though had to settle on a few packets of chains in a slightly different style. AND my VistaPrint order of new business cards was not going to arrive before I needed them because, oh, did I mention that the buyer needed these all within 5 days? 


The factory worker in me got to work with whatever I had in stock as I waited for the supplies I ordered online arrived. I first cut 200 18" strands from 50 packets of 4' chain and attached them each to spring rings from Artbeads (click on the link to read my review of the product). 


Anxiously waiting daily for my supplies to arrive in the mail, I went to work on the purple trumpet beads that I bought on Etsy from Allthingsbeaded:


Each one needed special attention, so I lined them up and put a head pin in each. Of course they each needed to be trimmed,


And then curled...


The next day the Hope charms I ordered on from Fusion Beads and HipChickBeads came in the mail (thanks to a nudging call to the distributor by the hubs!)...


And finally, the day before I needed to mail the finished products (and the day before I was to fly back to California), the heart beads I ordered from Etsy seller CLBeads in Canada arrived - whew! That was close!


The buyer wanted 160 of the necklaces partially packaged so she could easily put them around the necks of the graduates at the ceremony. The hubs painstakingly punched, prepared, taped, and packaged each kit while I finished the necklaces until 2am that night. That's love, I guess!

So, 4 roles of tape,
5 internet orders,
5 Michael's store visits,
50 packets of chain, 
200 spring rings,
200 Hope charms, 
200 head pins,
200 business cards, 
200 trumpet beads,
200 heart charms,
400 hole punches,
410 ziploc bags, and
800 jump rings later, we had these:

We rushed to the nearest Post Office (I had to google map it since I had yet to search out my local post office!) to mail the finished box of necklaces off to the buyer in Colorado. While in LA, I was thrilled to get an e-mail from her stating that she not only received them in time, but also loved them. Whew! I can sleep now!
So, there you have it folks - how Bead Up (and her husband!) made 200 necklaces in less than 5 days. Hope to do it again soon - no lyin!

June 10, 2010

I exist - I promise!

It's been far too long since I have blogged, and I hate it :( I knew that moving cross-country was going to get in the way of my schedule and, more importantly, my Etsy-ing. Now that we have landed safely in Kansas City, things are starting to get back to normal... sort of! I have been super busy unpacking boxes, trying to find a job, and make this very new place feel like home. Furthermore, I am still working on details for my husband's ordination, which includes the programs for the service and also my necklace for my outfit!


But most interestingly, I have been working like crazy on my most massive Etsy order yet -- 200 custom necklaces! A few weeks ago, a gal messaged me on Etsy and asked if I could make 30 of my "Hope" necklace. I told her that I don't have 30 of any of the components in stock, though I could find something comparable. Well, 30 turned into 50, which turned into 100, which turned into 200! So I have spent the last week trying to find all the supplies on the internet and get them shipped promptly, since these are due next week! Good thing I am unemployed! 


I will be back in touch soon - and with pictures of my 200 creations! Here we go!

May 26, 2010

Mystery Invitation Element: REVEALED!

Last week I mentioned that although my jewelry making is slightly slurred now since we are packing up everything we own to move to Kansas City, I am still craftin' away. My husband is a pastor and will be getting ordained next month... which basically means a bunch of bishops will put their hands on his head and deem him a pastor. While that part doesn't necessarily thrill me, the task of making invitations to the event is what gets my blood pumpin! I am the kind of gal who likes to get elemental with my cards/invitations... our wedding invitations had brads, ribbons, and stamps! For this round of paper goods, I immediately knew what I wanted to use: can you guess what is it (hint: it smells)?


The answers I received from y'all were great and made me smile: braided hemp; lavender/dried flower; seaweed; and even old boot straps! I can see how this random item could be any of the above items... here is what it actually it:


FISHNET!


I searched and searched online to find some sort of small/thin net that I could use on these fishy invitations (made in such a way because many parables and events of Jesus' time involved fish/fishing, etc). I was totally overwhelmed with the choices online (you try looking for fishnet online and see what you come up with!), but also the limited large quantities in which I would have to purchase it! I finally looked at Michael's on a whim and voila! They had it -- and even better, I got to use a 50% off coupon, so I bought over 5 yards of this stuff for less than $5!


Next was figuring how out to get the fishnet on the actual card stock. I tried sewing it. Too time consuming and messy. So I tried gluesticks. Yeah right, too soft. I bought a stitching bug little thing and didn't even open the packing and admitted defeat preemptively. Finally someone mentioned a glue gun, and thankfully I hadn't yet packed up my long lost gluing friend and she and I went to work! Cutting the net was the most time consuming, as I had to form it to fit each card and trim it over and over again. This stuff not only comes with an authentic smell (not sure if that's a good thing...?), but it is also very dirty and really browned up a new pair of rubber-gripped scissors I just bought. Oh, the things a girl will do for her husband. 


While the husband cut the fish (which I designed and printed using my Mac, 120lb cardstock, and a color printer), I cut the net and glued it on. But we weren't done there -- we needed corresponding envelopes and return address labels! I found the brilliant blue envelopes at Action Envelope and accidentally ordered a size too small for the invitations, but figured I would just fold the invites in half and not make it any more complicated than it needed to be. After searching Etsy over and over for some kind of cute fish stamps/stickers for the return address sticker, I finally came across this super cute little stamp. I asked the seller, Butterflystamps, if I could possibly order the stamp in a 1/2" size and also in a 3" size. She was super great in getting back to me and custom making the stamps for me and within my timeline. I highly recommend her! (I will be using the 3" for the Ordination programs, which I will of course blog about when the time comes!). I bought some small blank return address labels from Staples and printed our new Kansas City address up on our printer and added a little accent of the fishy stamp to each one:


After buying some silver Sharpies, I went to town and labeled over 200 of these things!
Even my dog Ping wanted to join in. At first I thought it was cute:
Then I realized that she gave me no use of my arms and I couldn't get any work done!
But I wouldn't have it any other way! 
So, there you have it! Mystery revealed! That said, I might be a little MIA over the next week -- we are moving in a few days and are driving to the midwest, so who knows when I will have internet access again! See you on the other side - ah!